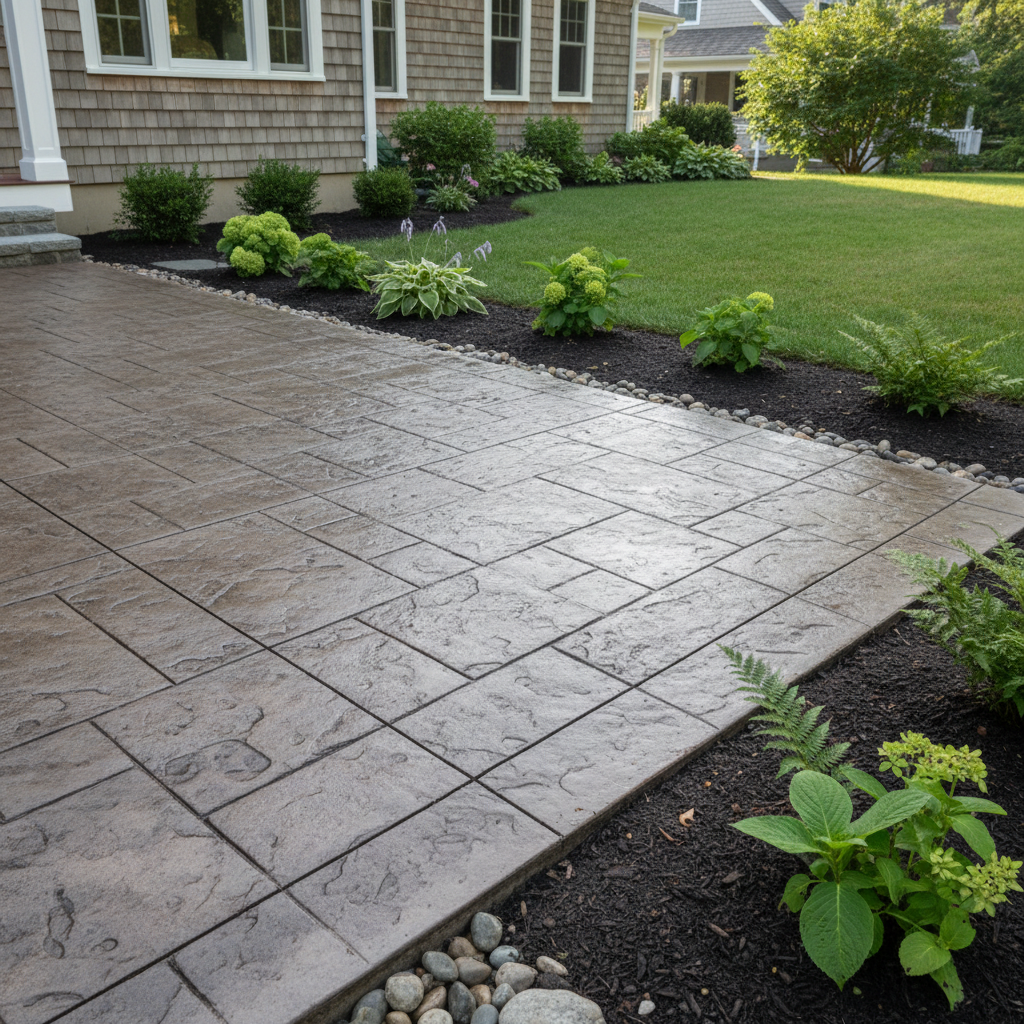
Want to upgrade your plain gray concrete slab into something that actually catches the eye? Decorative concrete is one of the best ways to boost your curb appeal without spending too much money. But before you rent a mixer or call in heavy machinery, you need a plan. Working with concrete around here means dealing with cold New England winters, stubborn clay soils, and plenty of moisture. We will break down what goes into a Decorative Concrete project from start to finish, and figure out where you can save money by doing it yourself versus hiring out.
Before the Pour: Planning and Prep Work
Everything depends on what you do before a single drop of concrete hits the ground. You have to map out your drainage so water does not pool against your foundation when the spring thaw hits. Stamped or stained Decorative Concrete looks amazing until it cracks because the sub-base was not compacted right.
Here is what you can realistically tackle yourself during the prep phase:
- Clearing out old brush, shrubs, or light turf
- Calling utility companies to mark underground lines
- Hacking away at minor grading with a shovel and rake for small pathways
Leave the major excavation and sub-base crushed stone compaction to a crew like All Star Concrete Co. If your base is not rock-solid, freeze-thaw cycles will heave and crack your brand-new Decorative Concrete finish before you know it.
During the Project: Pouring, Stamping, and Staining
Timing is everything when you are working with Decorative Concrete. Once the truck rolls up, the clock starts ticking fast. You only have a narrow window to float, texture, stamp, or apply color hardeners before the mix starts setting up. Hot summer days or damp autumn mornings will completely change how the concrete behaves.
Can you DIY this stage? Probably not if you are looking for a high-end finish. Pouring a standard square slab is tough enough, but trying to coordinate color release agents, stamp patterns evenly, and cut control joints before the material hardens is a recipe for a stressful afternoon. One slip with a texturing mat or an uneven color batch will stare back at you every time you walk out the door.
After the Project: Curing and Upkeep
Once the forms are stripped and your new patio or walkway is finished, your job is not quite over. Proper curing keeps the concrete from drying out too fast and getting brittle. Keep it damp for a few days so it reaches its maximum strength.
Maintenance is where homeowners take the reins back. You will want to apply a quality penetrating sealer every couple of years. This stops moisture from sinking in and protects your colors from fading under the summer sun or taking a beating from winter elements. Do not use harsh rock salt when the snow flies; use sand or pet-safe ice melt instead to keep your Decorative Concrete finish looking sharp for 15 to 20 years or more in Wellesley.